
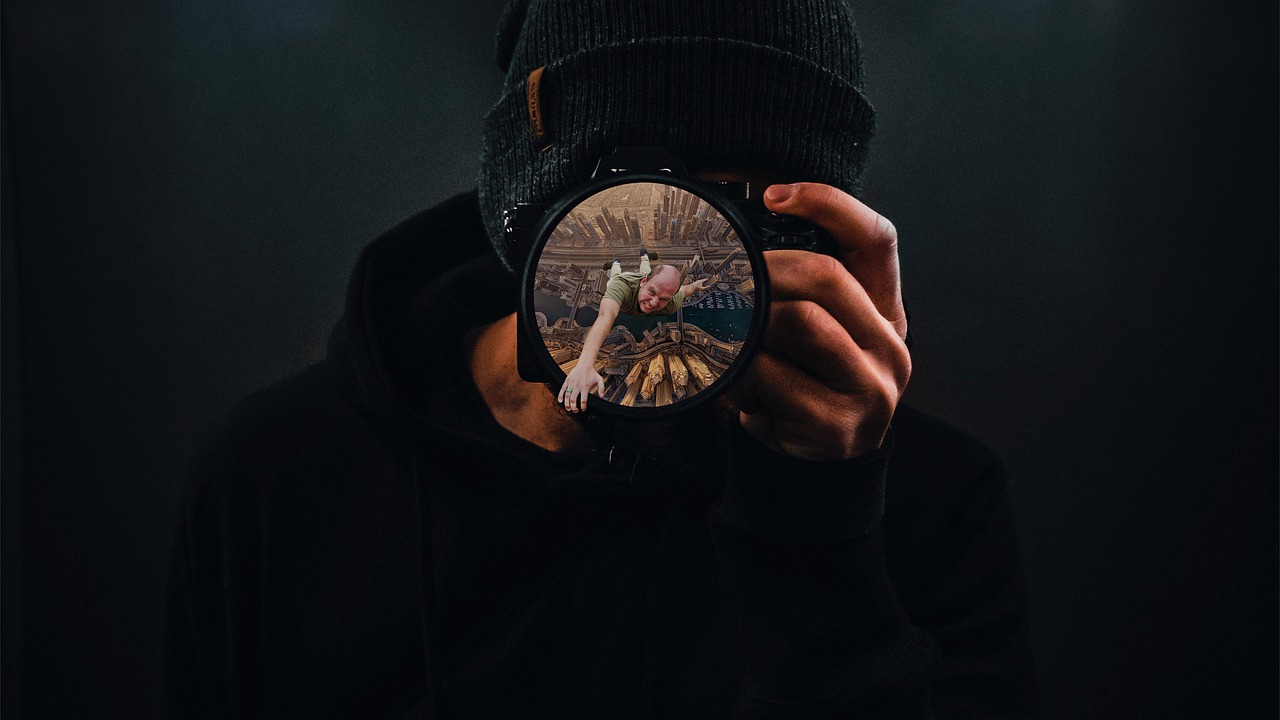
Shooting in fog opens up access to shots in which space dissolves and familiar objects acquire soft edges. This environment requires precise technical settings: fog reduces contrast, eats up details, and distorts exposure metering. But it is precisely these challenges that allow you to create photographs with a rare atmospheric quality. Below are practical parameters tested in real-life shoots, along with artistic approaches to help you achieve expressive shots in foggy conditions.
Technical shooting settings
Fog dramatically reduces a scene’s dynamic range, so the camera often overexposes the frame. Try setting the following settings when shooting:
- Exposure compensation: -0.3 to -1 EV. This prevents overexposure in the fog’s highlights. In urban fog, -0.3 EV is usually sufficient, while in forests, closer to -1 EV is needed.
- ISO 100–400. Fog increases noise in the shadows, so it’s best to stay in the lower ISO range.
- Aperture: f/4–f/8. At wide apertures, fog becomes “milky,” while f/8 helps preserve the structure of foreground objects.
- Manual white balance: 5500–6500K. Automatic white balance often makes fog appear too cool. A warmer spectrum restores natural midtones.
- Autofocus on a high-contrast object. The camera may “search” for focus. A single AF point and contrasting elements, such as signs, trees, and people in dark clothing, help.
When shooting handheld, a shutter speed of 1/125 or faster reduces the risk of blur, as fog increases the perception of out-of-focus.
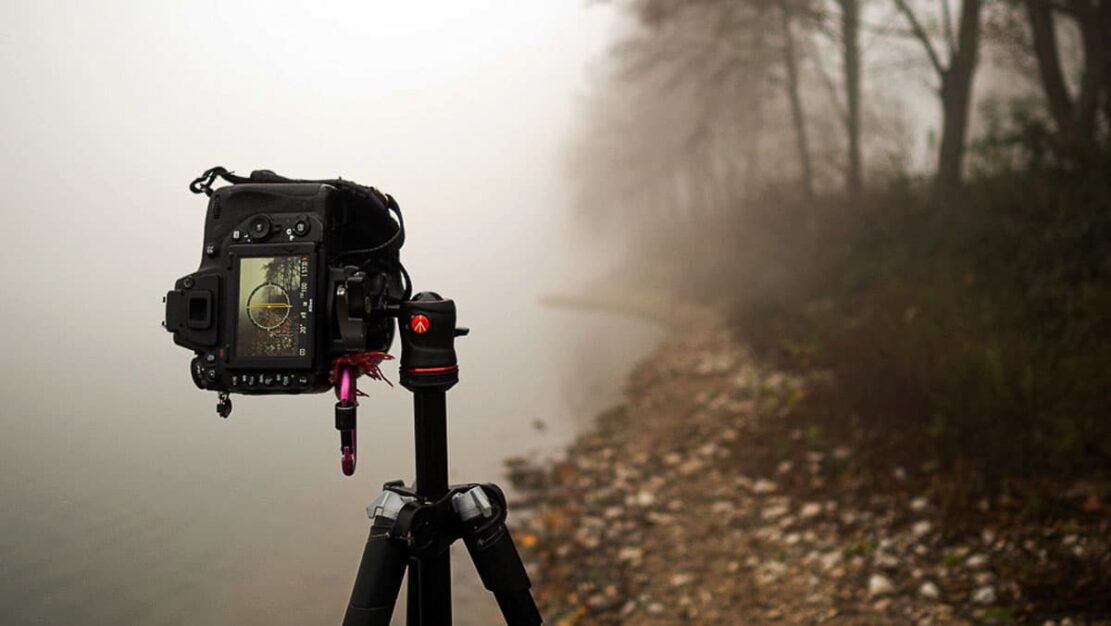
Depth of Space: Working with Planes and Distances
Fog is the best tool for creating a natural, multi-layered depth. The foreground appears rich, the middle ground is barely noticeable, and the background is diffuse. This feature allows you to compose a composition as if the space itself sets the accents.
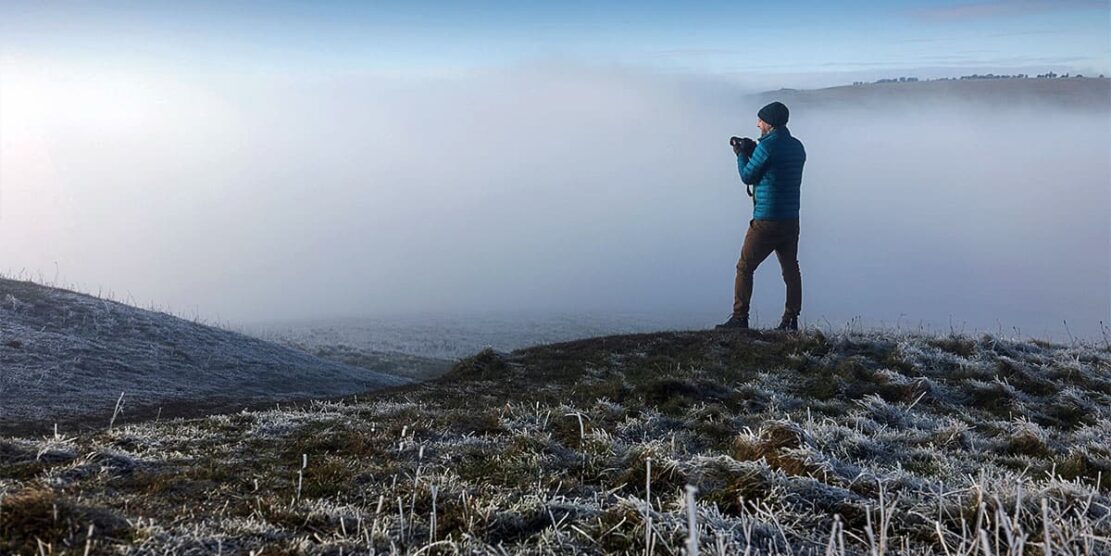
When conveying scale, it’s helpful to include large elements in the foreground, such as a tree, a human figure, a fence, or a lamppost. Even a simple silhouette makes fog more tangible. In landscapes, it’s recommended to place the main subject closer—otherwise, it gets lost in the background.
When shooting from a low angle, the camera captures the density of moist air better. Fog in the lower layers appears thicker, making the subject seem to rise “out of the haze.” This approach is often used by documentary filmmakers shooting city roads at dawn. Fog also helps “hide unnecessary details”: power lines, unnecessary buildings, and billboards. This makes the scene cleaner and more graphic. When a landscape is overloaded with elements, fog allows you to work with a minimalist composition without complex post-processing.
Working with Light and Contrast
Light behaves differently in fog: its rays scatter, creating soft halos around bright sources. This opens up opportunities for dramatic backlit shots. Car headlights, street lamps, neon signs—all look striking even with minimal post-processing.
Shooting against the light helps emphasize silhouettes: a person’s figure becomes clear, and the fog accentuates their contours. However, it’s important to be mindful of glare—sometimes using a lens hood or slightly shifting the camera relative to the light source can be helpful. Contrast is always reduced in fog, so it’s worth working with local contrast in your editor. Moderate increases in clarity make the subject more legible, but excessive intervention ruins the character of a foggy scene.
If there’s artificial light in the frame, it’s helpful to position it so the rays create diagonal lines—they create a visual rhythm. In some situations, fog makes light that’s usually invisible visible, and it’s definitely worth taking advantage of this.
How to manage palette and accents
Fog reduces saturation, but this same feature also helps you work with color more effectively. One bright object—a red raincoat, a yellow bicycle, a neon sign—becomes the focal point of the composition.
If you want to emphasize the cold mood of the morning, it’s helpful to maintain a natural, slightly blue tint. For warm scenes, you can raise the temperature by 200–300K to compensate for the air’s grayness.
Monochrome works especially well in fog. It emphasizes tonal transitions, eliminates unnecessary objects, and enhances the graphic quality. This is one of the rare genres where black-and-white processing reveals a scene better than color.
How to Enhance the Expressiveness of a Shot
Foggy conditions offer unique opportunities to enhance the expressiveness of your shots by carefully considering composition, motion, and light:
- Use silhouettes: Fog enhances the contrast between figures and the background, making silhouette photography especially powerful even in low light.
- Incorporate perspective elements: Streets, paths, bridges, and stairs help create a sense of depth and draw the viewer’s eye into the scene.
- Play with lines: Lines receding into the distance amplify the effect of objects dissolving into the fog, enhancing depth perception.
- Add dynamics: Motion, such as a person walking, a bicycle passing, or a running dog, emphasizes the fog’s fluidity and ethereal quality.
- Utilize artificial light: Light sources create special effects—oncoming cars produce beams, streetlamps cast cones of light, and shop windows generate soft halos.
The best time is the first two hours after dawn. At this time, the fog is densest and most stable. In the evening, it interacts with city lights, creating a completely different visual effect—more cinematic.